Written by: Ronnie Gonenc

You’ve done it. The iPhone slipped out of your hand, hit the floor face-down, and when you picked it up — cracks. Maybe just a hairline across the corner. Maybe the whole screen looks like a shattered windshield. Either way, you’re not thinking about what broke. You’re thinking about how fast you can get it fixed and whether it’s going to cost a fortune.
iPhone screen repair in New Haven is something we handle every single day at Fix Wireless on Whalley Ave. With over 20 years in the repair industry, we’ve seen every type of screen damage there is — simple surface cracks, shattered glass with a working display, OLED panels with black blotches spreading from inside, and everything in between. Not all of them need the same repair, and not all of them cost the same.
This guide walks you through what’s actually happening inside a cracked iPhone screen, what the repair process looks like, what drives the cost, and what to look for when choosing a shop you can trust in New Haven or Hamden.
Section 1: What’s Really Broken Inside Your iPhone Screen
Most people think a cracked iPhone screen is just broken glass. Sometimes it is. But understanding what’s underneath that glass is what separates a quick, affordable fix from a repair that costs twice as much because someone missed something the first time.
The Layers Inside a Modern iPhone Display
Your iPhone screen isn’t a single piece — it’s a stack of bonded components. The outer layer is chemically strengthened glass, tough but absolutely not shatterproof. Beneath it sits either an LCD panel (on older iPhones) or an OLED panel (iPhone X and everything after). Fused to that display is the digitizer, which reads your touch input. And on current iPhone models, the Face ID sensor array, front camera, and earpiece speaker all connect directly through the screen assembly.
On newer iPhones, these layers are fused together in the factory. That means even a crack that only affects the outer glass can create pressure on the display panel underneath — and that pressure doesn’t always show up as visible damage right away.
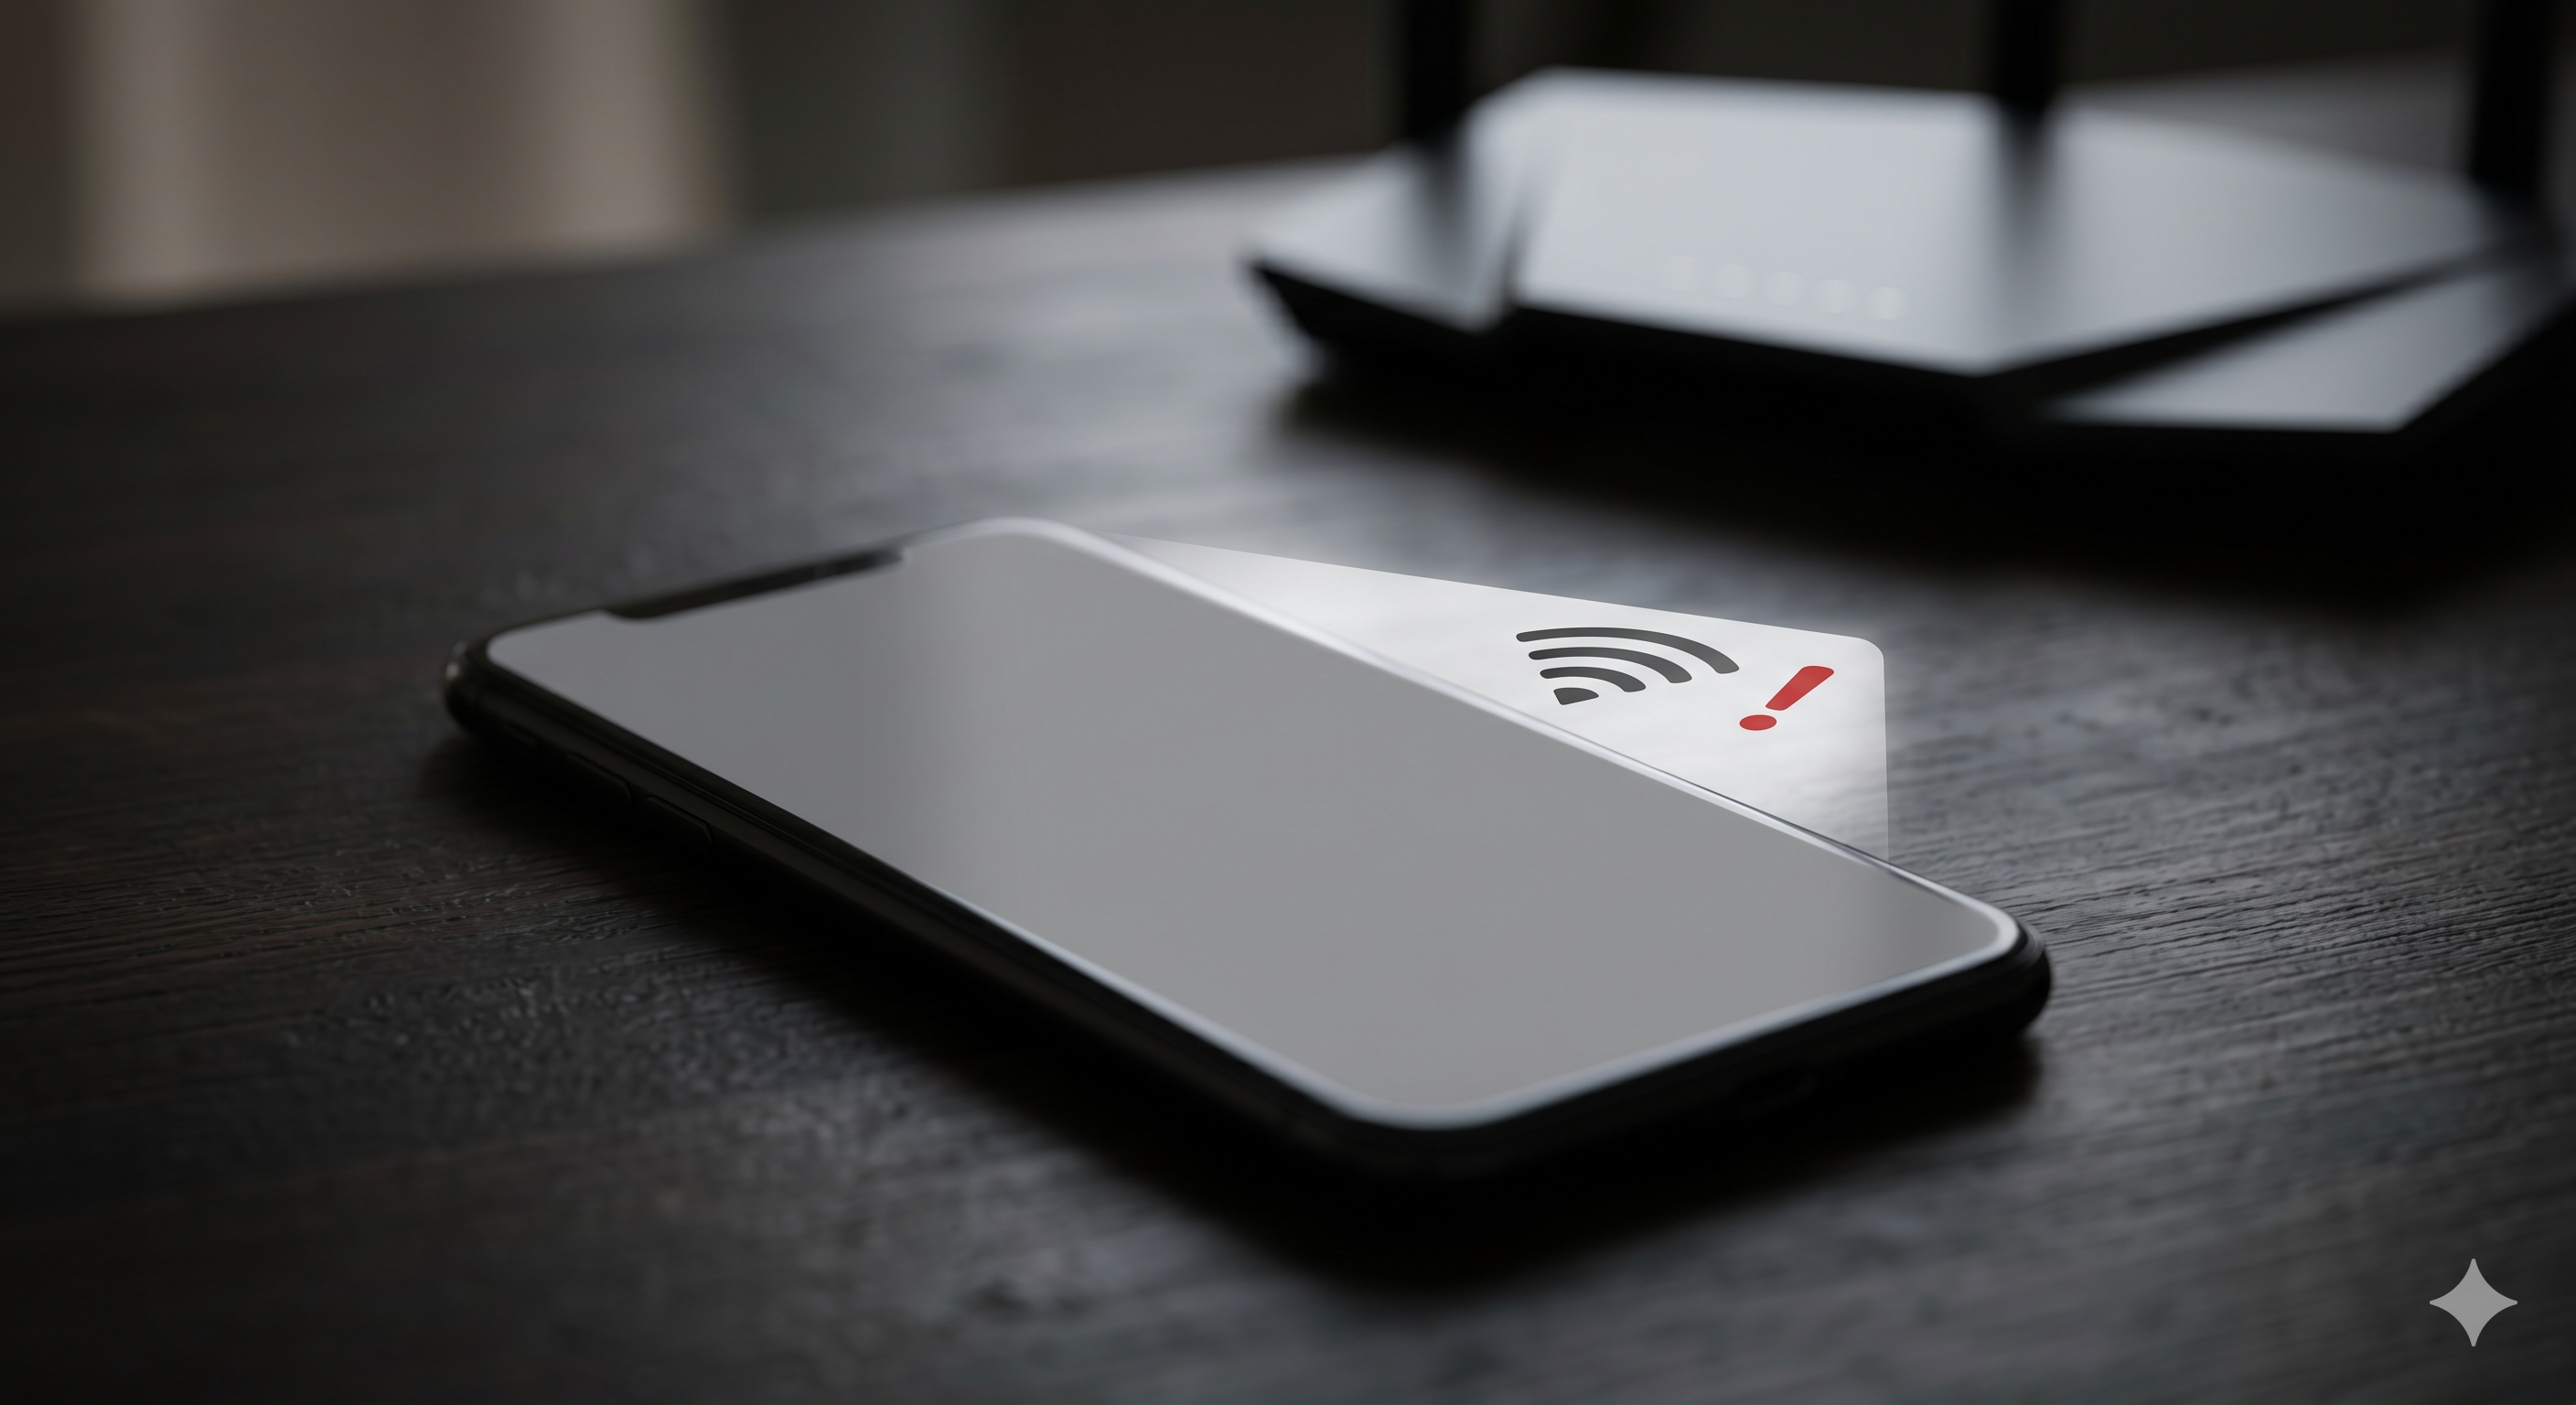
When It’s Just Cosmetic vs. When You Need to Act Quickly
A clean crack near the edge that doesn’t affect touch or display is cosmetic. It looks bad, but the phone still works. That can wait a few days if needed.
These signs mean the damage has gone deeper and should be addressed soon:
- The display shows lines, discoloration, or dark spreading patches
- Parts of the screen don’t respond to touch, or you’re getting ghost taps
- The screen flickers or goes completely black while the phone still powers on
- Face ID stopped working after the drop
Functional display damage almost always gets worse with use. Each time you flex the phone in your pocket, put pressure on the screen, or go through a temperature change between indoors and a Connecticut winter, the internal fracture spreads a little further. We see customers come in all the time who waited two weeks and turned a simple screen swap into a more involved repair.
A Note on Water and Cracked Screens
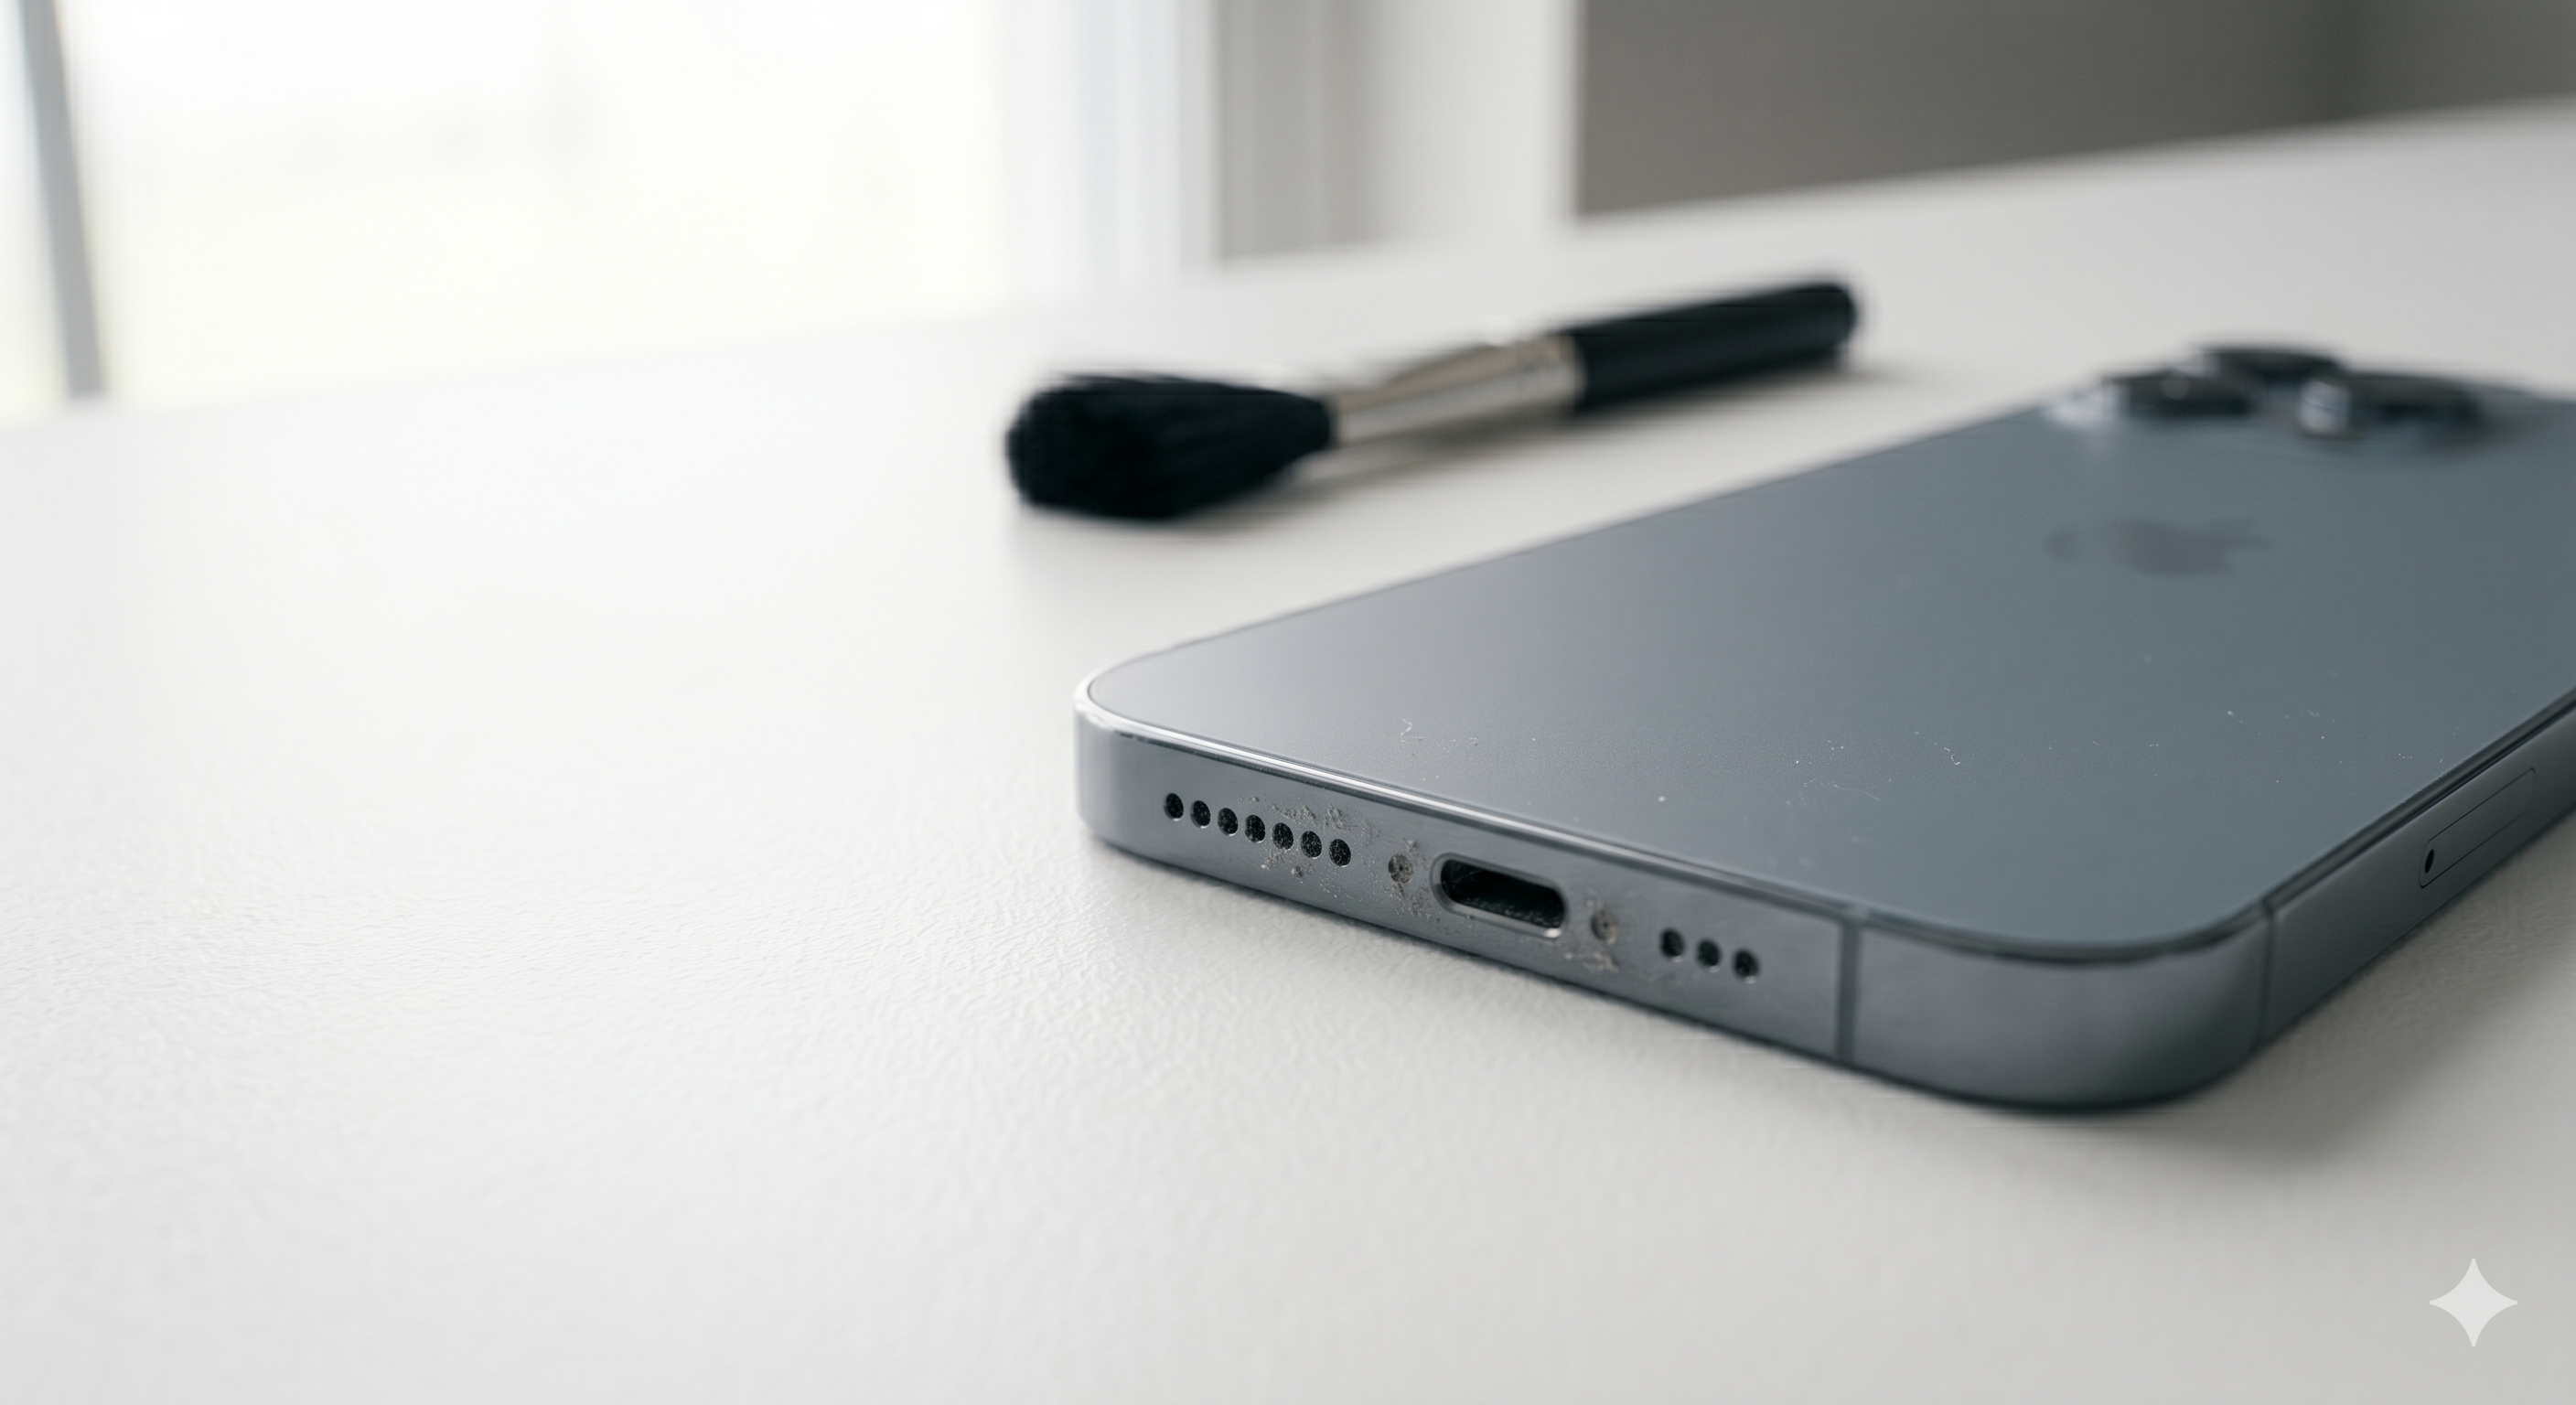
Connecticut weather doesn’t do iPhones any favors. If your cracked iPhone gets rained on, sits near a humid bathroom, or goes through anything involving moisture, that crack is now an open path for water to reach the display panel and the board underneath. We’ve seen phones with minor cracks come in weeks later with serious corrosion damage that started through the crack. If you’ve had a cracked screen and any moisture exposure, get it looked at sooner rather than later.
Section 2: How iPhone Screen Repair Works at Fix Wireless
A lot of people feel uneasy handing their phone over to a repair shop because they’re not sure what happens to it. That’s fair. Here’s exactly what the process looks like at Fix Wireless.
Diagnosis Before Anything Is Opened
We start by evaluating the device before touching it. We identify your exact iPhone model — because parts differ significantly between an iPhone 12 and an iPhone 15 Pro, and quoting you the wrong price helps nobody. We examine the physical damage, test touch sensitivity across the full screen, check display quality, and verify that Face ID is still functioning. We also check for any signs of prior water damage that could affect the repair approach.
You can get ahead of this by using our instant quote tool before you come in. It gives you a real price for your specific model and issue — no surprises at the counter.
The Screen Replacement Itself
iPhone screen replacement requires careful disassembly, controlled heat to separate fused display adhesive on newer models, precise disconnection and reconnection of display cables, and careful transfer of the Face ID module, earpiece, and front camera to the replacement assembly. Done correctly, this takes under an hour for most models. Done incorrectly, it can permanently damage Face ID — which is not recoverable without Apple’s involvement.
Our technicians have done this repair hundreds of times across every iPhone model going back years. Same-day repairs are standard. Walk-ins are welcome at both our New Haven location on Whalley Ave and our Hamden location on Dixwell Ave.
Testing Before You Leave
Every repaired iPhone is tested before it goes back in your hands. We check touch response across the entire screen, display brightness and color, Face ID function, front camera, and earpiece audio. We also make sure nothing introduced during the disassembly created a secondary issue. You see this before you walk out.
Parts Quality Matters More Than People Think
This is worth asking about directly at any shop. Replacement iPhone displays range from genuine Apple-quality panels down to low-grade aftermarket parts that look fine in the shop but show visible differences quickly — lower brightness outdoors, color that shifts at angles, or touch that loses accuracy at screen edges. We use quality replacement parts in every repair because a screen that degrades in six weeks isn’t a repair. All repairs come with a standard warranty on parts and labor.
Section 3: iPhone Screen Repair Cost in New Haven — What Actually Changes the Price
“How much does it cost?” is always the first question. The honest answer depends on a few specific factors.
Your iPhone Model
An iPhone SE screen repair and an iPhone 15 Pro Max screen repair are not the same job or the same cost. Newer OLED panels are more expensive than older LCD displays. Pro models with ProMotion and always-on displays use premium display assemblies that cost more to source. The exact model — not just “iPhone” — is what determines the quote. Use our instant quote tool with your specific model to get an accurate number before you come in.
What’s Actually Damaged
If the outer glass is cracked but the OLED panel is still functioning perfectly and Face ID works, you’re looking at a standard screen replacement. If the OLED has dead zones, lines, or discoloration, you’re replacing a more complex assembly. If Face ID stopped working after the drop, the repair requires careful module transfer — which adds time but is something we do correctly every time.
The Warranty Included
Every iPhone screen repair at Fix Wireless comes with a standard warranty covering both parts and labor. If something goes wrong with the repair itself within that warranty period, we take care of it. A shop that won’t offer a warranty on their screen work is telling you something about the confidence they have in it.
Same-Day Service
For most iPhone models with parts in stock, the repair is done the same day you bring it in. We know how disruptive it is to be without your phone, so we don’t hold it longer than necessary.
Section 4: Why the Shop You Choose Matters
There’s no shortage of places in New Haven and Hamden advertising iPhone screen repair. Here’s what actually separates a trustworthy repair from one that leaves you with new problems.
Experience With High-Volume Repairs
A shop that has been doing this for 20+ years and handles screen repairs daily has seen every failure mode and edge case. They know where Face ID cables run, how much heat to use on a specific model’s adhesive, and what to look for during reassembly to catch problems before closing the phone up. That experience doesn’t show up on a price comparison — it shows up in whether your repair works a month later.
Transparent Pricing Before You Commit
You should never agree to a repair without knowing the cost. Our instant quote tool gives you a clear, upfront price before you visit either location. If you have questions, you can contact us directly or check our common repair questions page for answers before coming in.
One Shop for Every Device
Fix Wireless handles iPhone repairs, other smartphone repairs, tablet repairs, computer repairs, game console repairs, and other device repairs — all under one roof at both locations. If you’re coming in for a cracked iPhone screen and your laptop also has an issue, you’re not making two separate trips.
Buy, Sell, and Trade Options
If the cost of repairing your iPhone doesn’t make sense given the phone’s age or condition, we can also help you find a better path. Our buy and sell page covers trade-in options and certified pre-owned devices, and our device shop has tested, inspected inventory available.
Two Convenient Connecticut Locations
New Haven: 53 Whalley Ave, New Haven, CT 06511 — Monday through Saturday 10AM–7PM, Sunday 11AM–4PM Hamden: 1338 Dixwell Ave, Hamden, CT 06514 — Monday through Saturday 10AM–7PM, Sunday Closed
Walk-ins welcome. Same-day repairs on most models.
FAQs: iPhone Screen Repair New Haven
How long does an iPhone screen repair take at Fix Wireless? Most iPhone screen repairs are completed the same day, often in under an hour for standard models. We’ll tell you the exact timeline after evaluating your specific device and the extent of the damage.
Will Face ID still work after my screen is replaced? Yes, as long as the repair is done correctly. Face ID hardware lives inside the screen assembly and must be transferred carefully to the replacement display. Handled properly, Face ID continues working exactly as before. This is one of the reasons technician experience matters — a careless repair can permanently disable Face ID, and once it’s gone, it cannot be restored without Apple’s own involvement.
Is it worth repairing an older iPhone screen? In most cases, yes. Screen repair costs a fraction of a replacement device, even on models a few years old. Use our instant quote tool to see the repair cost for your specific model and compare it against the phone’s value. We’ll give you a straight answer.
What if my phone has other damage besides the cracked screen? Bring it in and we’ll assess the whole device. We check for secondary issues during every diagnostic — and if there’s something else going on, we’ll walk you through your options before starting any work.
My screen cracked but is still working fine. Should I still get it repaired? We’d recommend it. A functional crack still leaves the display vulnerable to further damage, especially in wet weather or colder temperatures that stress the glass. It also leaves the internal components exposed to moisture. Most people find it’s easier to fix it while it’s still a simple repair than to wait until it becomes a more involved one.
Do you repair other iPhone issues besides the screen? Yes. Fix Wireless handles battery replacements, charging port repairs, water damage, camera issues, and more. Check the iPhone repairs page or our device repair FAQs for the full list of services.
This article is for general informational purposes only. For an accurate assessment of your specific iPhone and damage, bring your device into Fix Wireless at our New Haven or Hamden location, or use our instant quote tool to get started.