Written By: Ronnie Gonenc
There are few things more annoying than picking up an important call, saying “Hello?”, and being met with dead silence—or worse, the person on the other end shouting, “I can’t hear you!” It turns your smartphone into a glorified pager instantly.
Whether you are trying to record a voice memo, send a WhatsApp audio note, or just talk to your mom, a malfunctioning microphone stops communication in its tracks. As mobile repair experts at CT Fix Wireless, we see this issue walk through our doors almost every single day. The good news? It isn’t always a catastrophic hardware failure. In fact, about half the time, the issue is caused by software glitches, permission settings, or just a little bit of pocket lint jammed in the wrong spot.
In this guide, I’m going to walk you through the exact troubleshooting steps our technicians use to diagnose and fix microphone issues. We will start with the easy, at-home fixes and move toward the more complex diagnostics. While this advice is safe for most users, please remember that smartphones are complex pieces of technology. If you are unsure about opening your device or performing a deep clean, it is always safer to seek professional help to avoid causing further damage.
Section 1: Diagnosing the Problem (Is it Hardware or Software?)
Before we start poking around with toothbrushes or resetting settings, we need to figure out exactly what is broken. Modern smartphones usually have multiple microphones. There is the primary one at the bottom for calls, a secondary one near the camera for video recording, and often a third for noise cancellation.
The Voice Memo Test
The quickest way to isolate the issue is to test the mics independently of your network connection.
- Open your Voice Recorder or Voice Memos app.
- Record a short clip of yourself speaking in a normal voice.
- Play it back.
If the audio sounds clear, your main microphone hardware is likely fine, and the issue might be related to your carrier signal or a specific app glitch. If the audio is static-filled, muffled, or completely silent, we are looking at a hardware obstruction or failure.
If you determine early on that this is a hardware issue you don’t want to mess with, you can visit us at CT Fix Wireless to have a look.
The “Specific App” Check
Does the mic work on regular phone calls but fail on Zoom or Instagram? If yes, your hardware is fine. This is a “permissions” issue (which we will cover in Section 3). If it fails everywhere—calls, video, Siri/Google Assistant—you are likely dealing with a physical blockage or a damaged component.
Section 2: Physical Blockages (The Most Common Culprit)
You would be amazed at how much debris a phone collects just by sitting in your pocket or purse. Lint, dust, makeup foundation, and even tiny crumbs can get impacted into the microphone grille. Since the microphone hole is tiny, even a small blockage can reduce sound input by 80% or more.
How to Clean Your Microphone Safely
Warning: Never use a metal pin or needle. You can easily puncture the delicate microphone diaphragm inside.
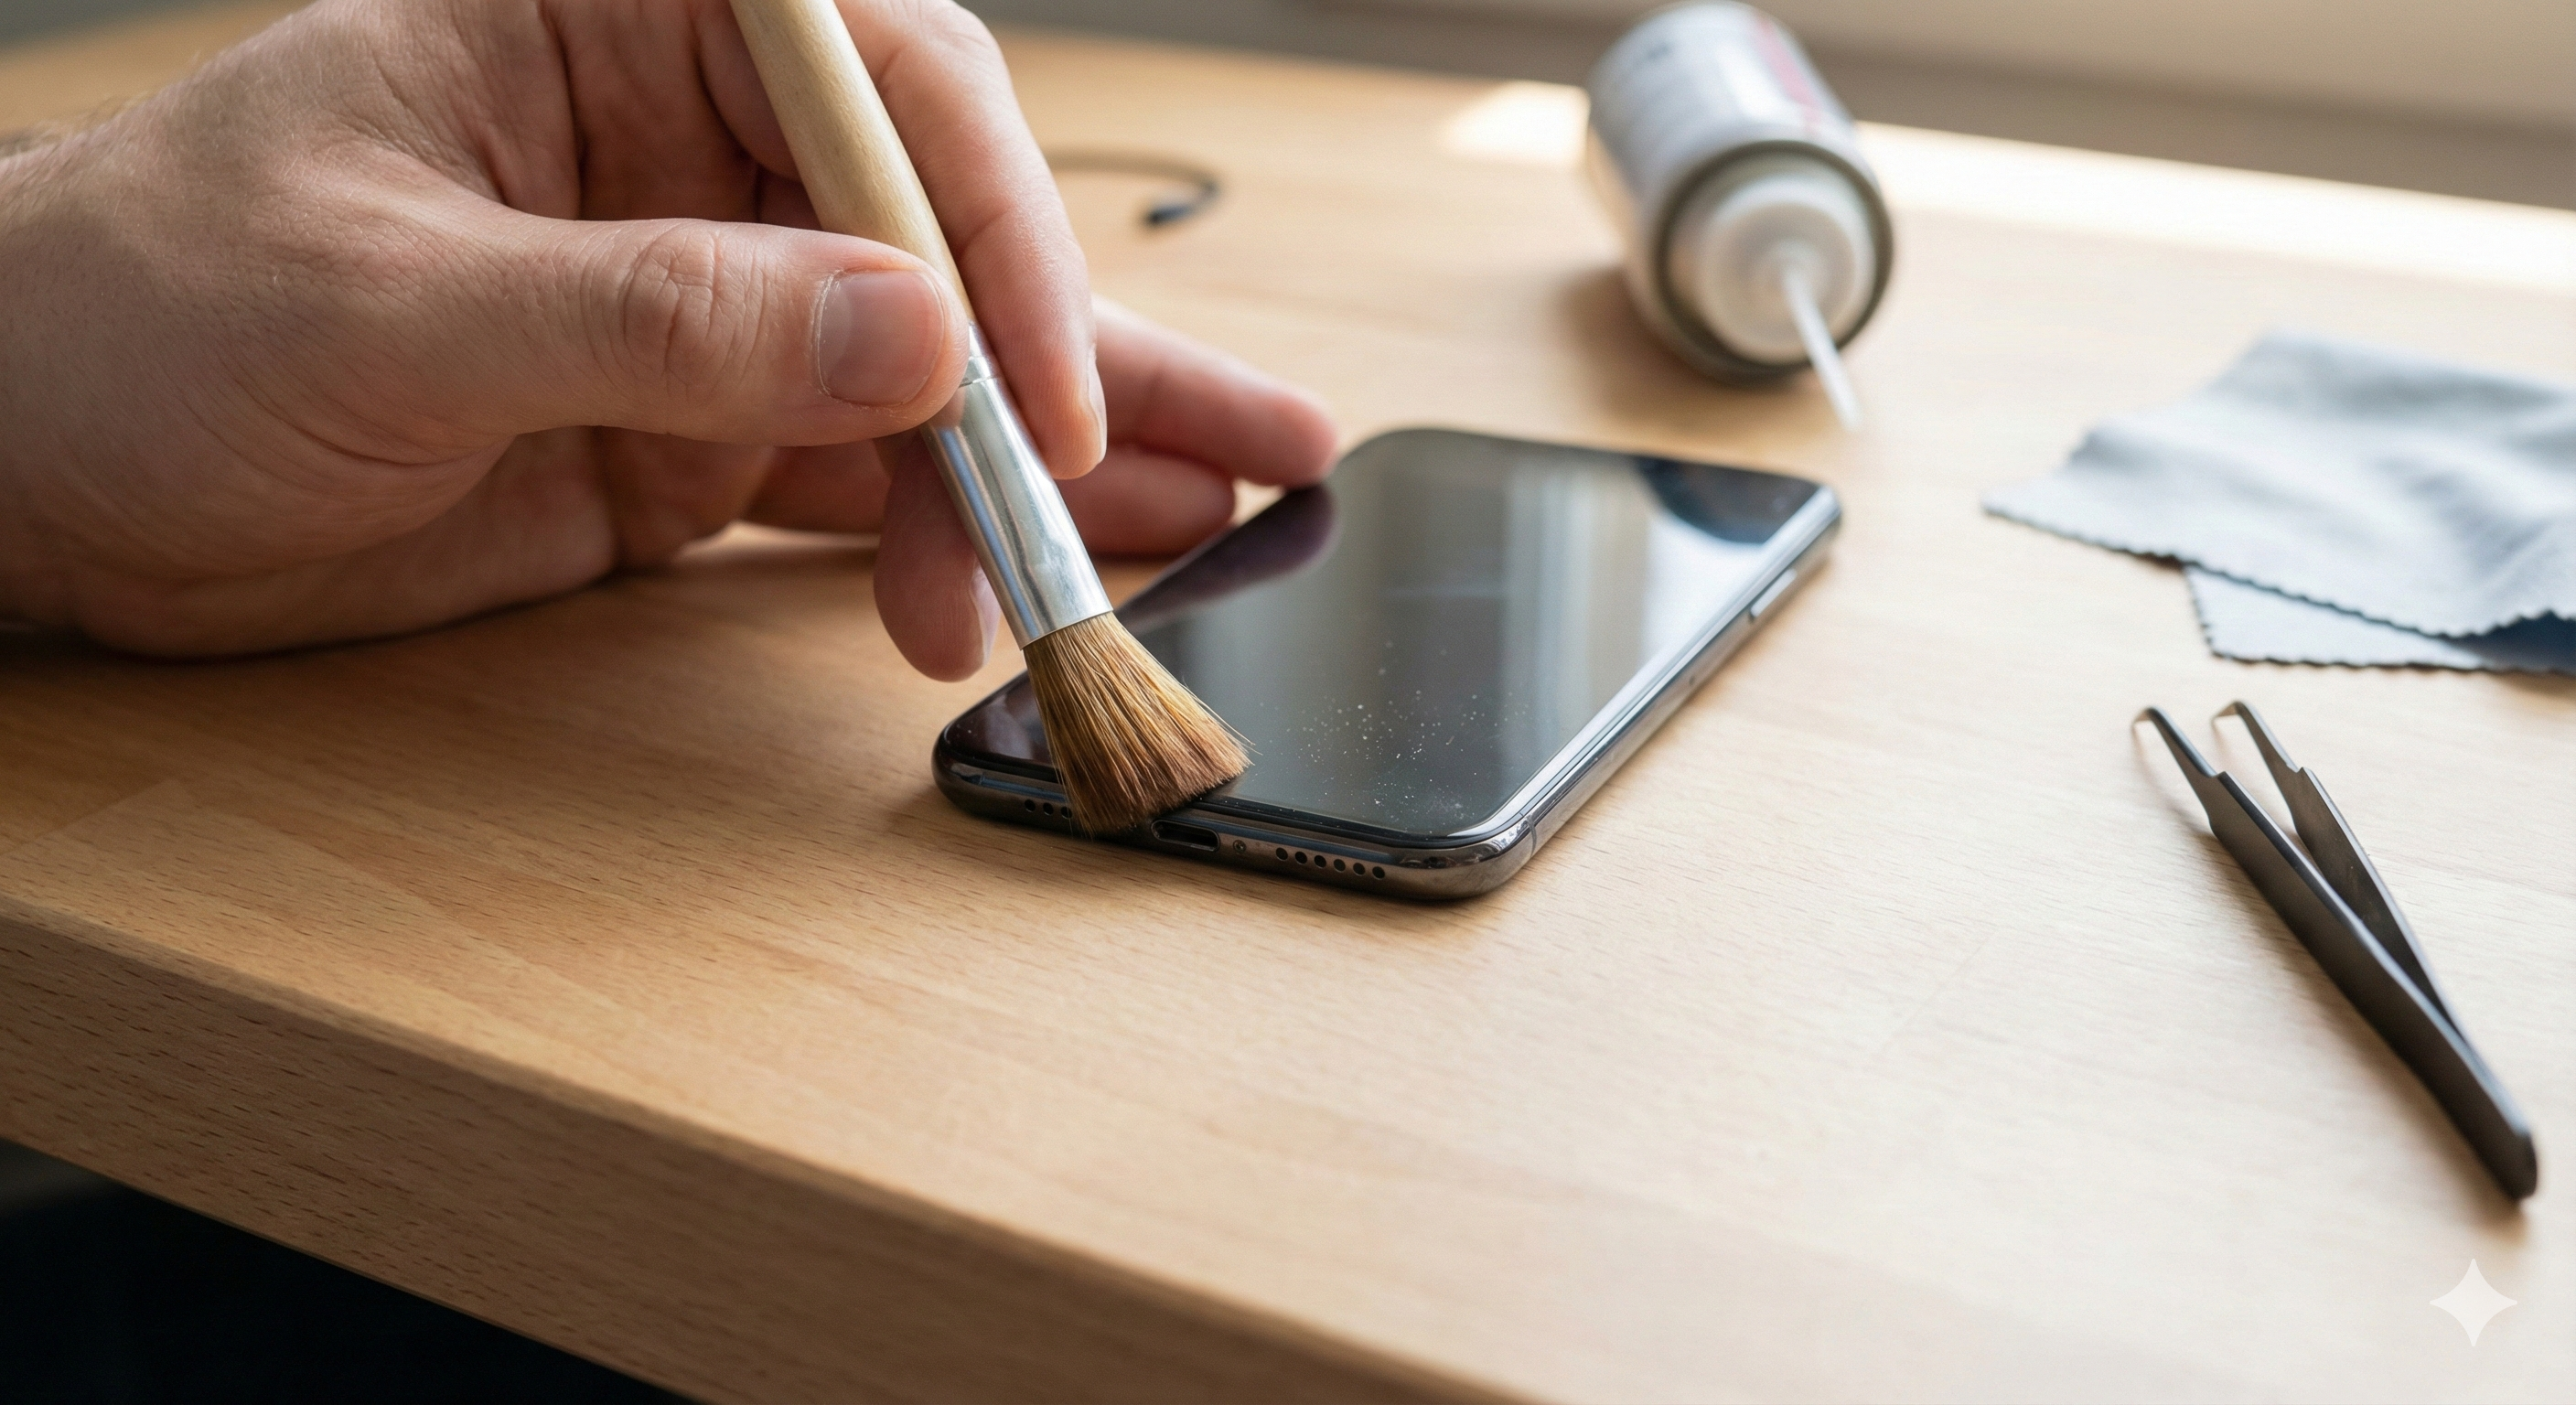
- Inspect with a Light: Use a flashlight to look closely at the microphone hole (usually at the bottom of the phone next to the charging port). If it looks packed with grey or black fuzz, that’s your enemy.
- The Toothbrush Method: Take a clean, dry, soft-bristled toothbrush. Gently brush across the microphone opening. Do not jam the bristles in; just brush back and forth to loosen the debris.
- Sticky Putty (Blu-Tack): This is a technician favorite. Take a small piece of mounting putty, press it gently over the speaker/mic hole, and pull it away quickly. It grabs the dust without pushing it further inside.
- Compressed Air (With Caution): If you use canned air, do not blow it directly into the hole at close range, as the pressure can destroy the mic. Spray from a distance or at an angle to dislodge dust.
If you have cleaned it thoroughly and still get no sound, the blockage might be internal (liquid damage or corrosion). At that point, you might want to stop by our shop. We can give you a better idea of the cost using our Instant Quote Widget.
Section 3: Software Glitches and Settings
If your phone is physically clean, we turn our attention to the software. Updates, rogue apps, and privacy settings can all mute your mic without you realizing it.
1. Check App Permissions
Both iOS and Android have clamped down on privacy, meaning apps have to ask to use the mic. If you accidentally hit “Deny” when you first opened WhatsApp or Skype, the mic won’t work for that specific app.
- For iPhone: Go to Settings > Privacy & Security > Microphone. Ensure the toggle is green next to the app you are trying to use.
- For Android: Go to Settings > Apps > (Select App) > Permissions > Microphone and select “Allow only while using the app.”
2. The “Headphone Mode” Glitch
Sometimes, your phone thinks headphones are plugged in when they aren’t. This shuts off the main mic because the phone is waiting for input from a headset mic.
- Check the icon: Do you see a headphone icon in the status bar?
- Clean the port: If you have a headphone jack or a charging port, carefully clean it out. Debris here can bridge connections and trick the software.
- Toggle Bluetooth: Turn off Bluetooth completely. Your phone might be connected to a pair of earbuds sitting in the next room.
3. Noise Cancellation Conflicts
Some phones have a feature called “Noise Reduction” or “Clear Calling.” While intended to help, it can sometimes aggressively filter out your voice if the software glitches. Try searching for “Noise Cancellation” in your settings and toggling it off to see if call quality improves.
Section 4: Advanced Troubleshooting and Resets
If simple settings didn’t fix it, we have to go deeper. These steps rule out operating system corruption.
Safe Mode (Android Only)
Booting into Safe Mode disables all third-party apps.
- Press and hold the Power button.
- Tap and hold “Power Off” on the screen until “Reboot to Safe Mode” appears.
- Once in Safe Mode, make a test call. If the mic works perfectly in Safe Mode, a third-party app you installed (like a call recorder or a voice changer) is causing the conflict. Uninstall your recently downloaded apps one by one.
Reset All Settings (iPhone & Android)
This isn’t a factory reset—it won’t delete your photos or contacts. It just resets Wi-Fi passwords, layout preferences, and audio settings back to default.
- iPhone: Settings > General > Transfer or Reset iPhone > Reset > Reset All Settings.
- Android: Settings > General Management > Reset > Reset All Settings.
The Factory Reset (The Nuclear Option)
If absolutely nothing else works, a full Factory Reset is the final software step. Make sure you back up your data first. This wipes the phone clean. If the mic doesn’t work after a factory reset, you can be 99% sure it is a hardware failure.
If you are at the point where you are considering wiping your phone or buying a new one because the repair seems too complex, check out our options to Buy and Sell devices. Sometimes upgrading is more economical than repairing an older model.
Section 5: Hardware Damage & Professional Repair
When software fixes fail, we are looking at physical damage. This falls into three main categories:
1. Water Damage
Did you drop your phone in the sink or use it in a steamy bathroom? Water corruption often hits the microphone first because it’s an open port. Water damage can short-circuit the microphone component or leave behind mineral corrosion that blocks the signal.
2. The “Audio IC” Issue (Specific to Older iPhones)
We see this often in the repair industry, particularly with iPhone 7 and 8 models. A chip on the motherboard responsible for audio (the Audio IC) can loosen due to slight bending of the phone chassis over time. Symptoms include a greyed-out voice memo button and the phone taking a long time to boot up. This requires microsoldering to fix—a specialized repair we handle at CT Fix Wireless.
3. Physical Drop Damage
A hard drop can sever the ribbon cable connecting the microphone to the motherboard. In this case, the microphone module simply needs to be replaced.
If you suspect hardware damage, DIY fixes are risky. You could accidentally damage the charging port or the screen while trying to access the mic. We recommend you read more about our team and our philosophy on safe repairs on our About Us page. We believe in transparent, honest repairs.
Section 6: When Should You Call a Pro?
You should seek professional help if:
- You have cleaned the port and done a factory reset, but the issue persists.
- The phone has been exposed to liquid.
- You are experiencing other audio issues simultaneously (like the speaker not working).
Repairing a microphone is usually a routine, affordable fix. It involves opening the device and replacing the daughterboard or the flex cable containing the mic. Compared to the cost of a new flagship phone, a repair is almost always the budget-friendly choice.
If you are ready to get that sound back, feel free to reach out via our Contact Us page. We can schedule a time to look at your device and get you communicating again.
Wrapping Up
A broken microphone turns a smartphone into a brick. While it is frustrating, remember that the solution is often simpler than you think. Start with a toothbrush and a check of your Bluetooth settings. If those don’t work, move on to software resets. And if you hit a wall, know that hardware repairs for microphones are standard procedures for experienced technicians.
Don’t let a silent phone ruin your day. troubleshoot it, clean it, or bring it in to let the experts handle it.
FAQs
Q1: Why does my microphone work on speakerphone but not on normal calls? A1: Most smartphones use two different microphones. The bottom mic is for normal calls, while the top or rear mic is used for speakerphone and video recording. If one works and the other doesn’t, it confirms that your bottom microphone has a hardware failure or blockage, while the audio software is functioning correctly.
Q2: Can a screen protector block my microphone? A2: Absolutely. We see this often with poor-quality or misaligned screen protectors. If the glass isn’t lined up perfectly, it can cover the tiny microphone hole near the earpiece or at the bottom of the screen. Check your alignment and consider removing the protector to test the audio.
Q3: How much does it cost to fix a phone microphone? A3: The cost varies by model and the extent of the damage. A simple cleaning might be free or very cheap, while a microphone replacement usually involves replacing a charging port flex cable. For an exact price for your specific device, we recommend using our Instant Quote widget.
Disclaimer
The information provided in this post is for educational purposes only. While cleaning your device and adjusting settings are generally safe, attempting physical repairs on your smartphone can void warranties and potentially cause further damage if not done correctly. CT Fix Wireless is not responsible for any damage incurred during DIY repair attempts. If you are unsure, please consult a professional technician.